

Common WordPress Errors

Common WordPress Errors (And How to Fix Them). Nothing can sully your day quite like an unexpected error with your site. Thankfully, WordPress is generally a well-oiled machine that isn’t likely to throw errors at you for no reason. However, when a problem does appear, it can be frustrating, especially if you don’t know how to try and fix it.
While many errors can seem intimidating at first glance, most WordPress issues stem from relatively small problems that are usually easy to deal with. As long as you understand the source of the problem, you can typically perform some basic troubleshooting on your own.
To help you out, this article will show you how to diagnose and correct common WordPress errors. If your problem is not listed here, you’ll want to check out the official list of common issues. Let’s start from the top!
1. Parse Error/Syntax Error
Let’s start with an easy one. While many of the errors we’ll be looking at can be frustrating due to how little information they give you, the ‘parse error’ (or ‘syntax error’) is at least helpful enough to tell you exactly what’s wrong.

This error occurs when there is an issue with your site’s code, most commonly in the functions.php file. Instead of loading your page, a simple message will appear, which explains what the issue is and where it occurred.
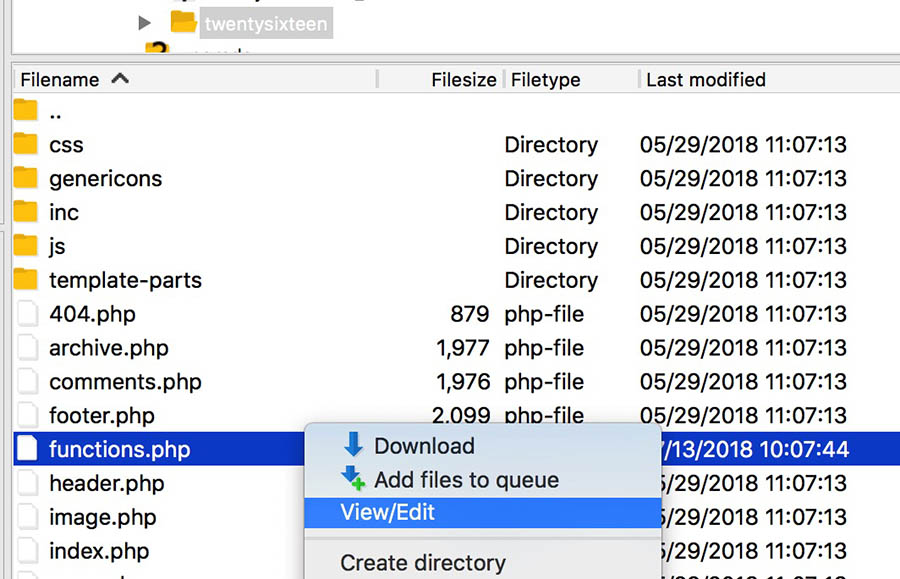
To fix the problem, you’ll need to access the specified file using SFTP. We’ll be using FileZilla, as it’s a free and open-source tool. Just use the SFTP credentials provided by your web host, and access your site’s backend.
Then, you need to find the file in question. In the example pictured above, you can see that the problem is in the functions.php file for the site’s current theme. As such, we’ll access that theme’s folder, right-click on functions.php, and select View/Edit.
If you check the Parse error message, you can see that it even tells you on what line the problem exists. Now we just need to find that line and fix the problem. In our example, it’s a simple case of a missing parenthesis, so let’s sort that out.
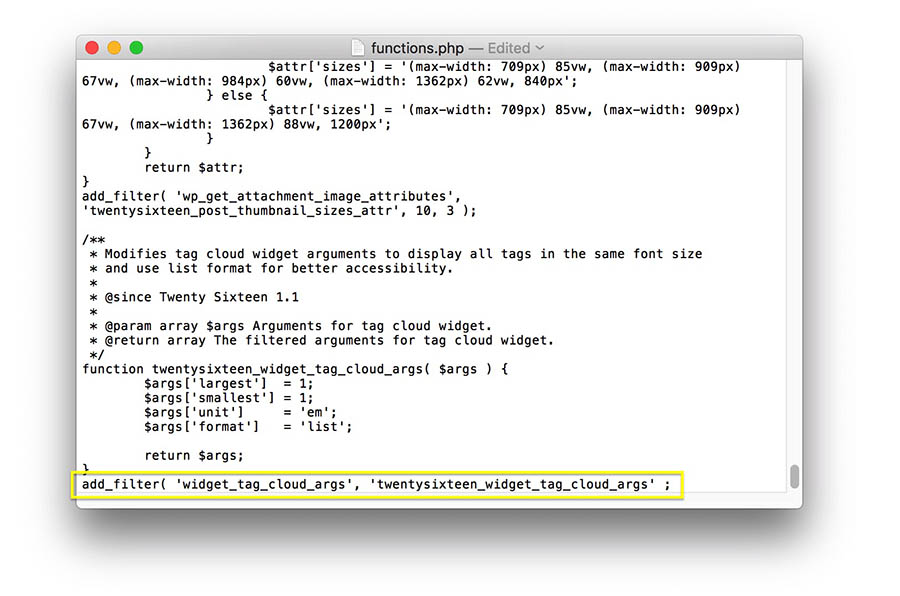
Save your file, and select Yes when your FTP client asks if you want to replace the existing file on the server. You should now be able to check your site and see that it’s back to normal.
2. White Screen of Death (WSoD)
One of the most infamous and cryptic errors in WordPress is the dreaded White Screen of Death (WSoD). This error simply replaces your entire site with a blank, white nothing, leaving no error messages or further assistance.

This problem can occur for a variety of reasons and usually means your site couldn’t be loaded properly. As such, there are several methods for troubleshooting it.
We’ve actually covered how to fix the WSoD before on this blog, so we recommend that you check out our comprehensive guide to this error. However, here’s a quick summary of the things you can do to troubleshoot this particularly tricky problem:
- Disable your plugins. The most likely culprit behind the WSoD is a faulty plugin, so try disabling them all and see if that fixes the problem.
- Disable your theme. Your theme can also cause this issue, so use SFTP to replace it with one of WordPress’ default themes.
- Activate the WordPress debug mode. This is a useful feature that lets you see errors directly on each page, which can help you pinpoint the underlying cause of the WSoD.
- Purge your cache. Finally, your site’s caching solution could cause you to see outdated files even if the WSoD has been fixed. Therefore, you’ll want to clear your cache and see if that resolves the problem.
- Raise your memory limit. Your site might have run out of memory. You can raise your maximum limit by editing your php.ini file.
These methods will fix the WSoD in the vast majority of cases. However, if you’re still experiencing issues, you should contact your hosting provider’s support team for more help.
3. Internal Server Error
The Internal Server Error is another issue that can be frustratingly opaque about the underlying problem.
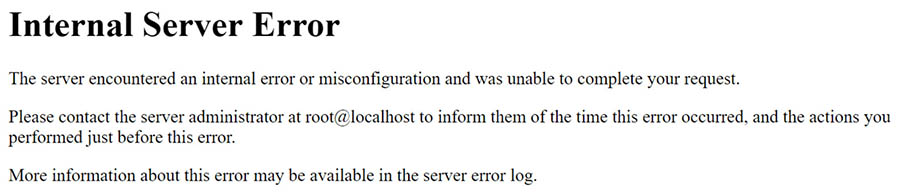
Fortunately, this error has fewer potential causes than the WSoD. It will appear when an unknown issue occurs with the server, and is generally caused by one of the following:
In simple terms, .htaccess is a file that dictates how your WordPress site communicates with its server. This file can be used to increase your site’s security, and to override some of the default server settings. To test and see if this file is causing the Internal Server Error, all you need to do is disable it.
You can do this by once again using SFTP. The file is usually located in your site’s root directory, which is often titled public_html.
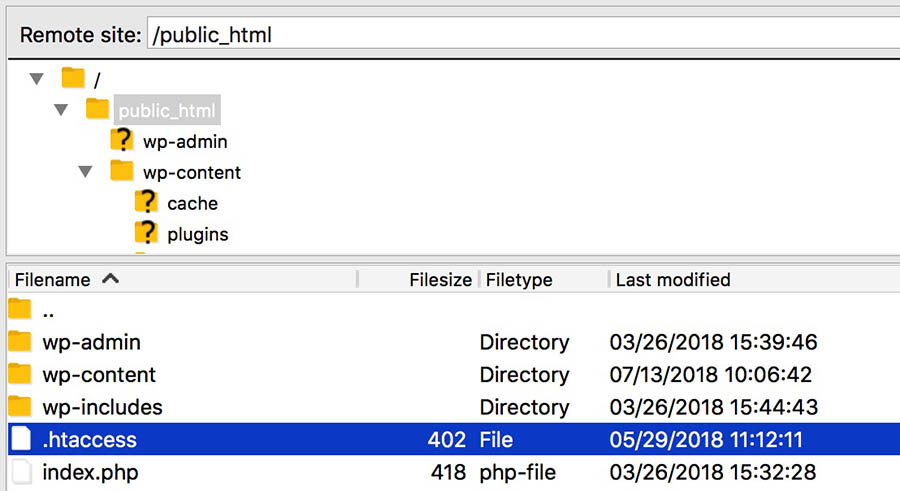
To disable the file, just change its name. For example, if you rename it .htaccess-disabled, you can then check your site to see if the issue is resolved.
If this does fix the problem, all you need to do is generate a new, bug-free .htaccess file. You can do that by going into your admin dashboard and accessing Settings > Permalinks.
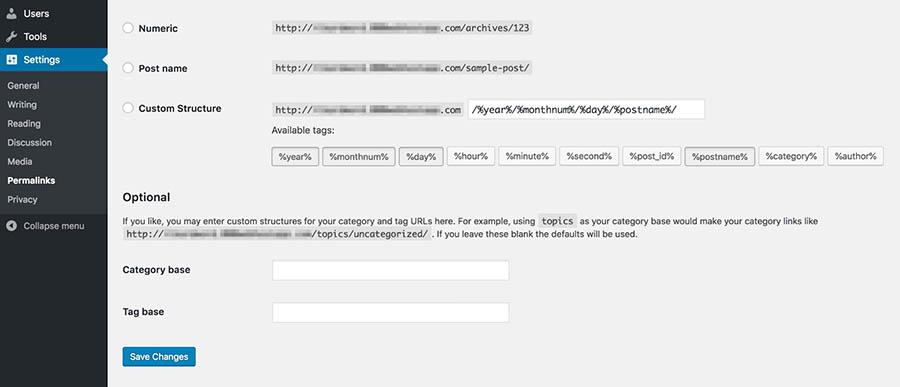
You don’t need to make any actual changes here. Just click on Save Changes to generate a new .htaccess file. This should hopefully resolve the issue.
If it doesn’t, you may need to increase your PHP memory limit. If that’s the case, we have a complete guide on how to do that. If you find that you can’t increase your limit further, you might want to reach out to your web host about upgrading your current hosting plan.
4. 404 Error
The 404 Error should be familiar to most internet users.
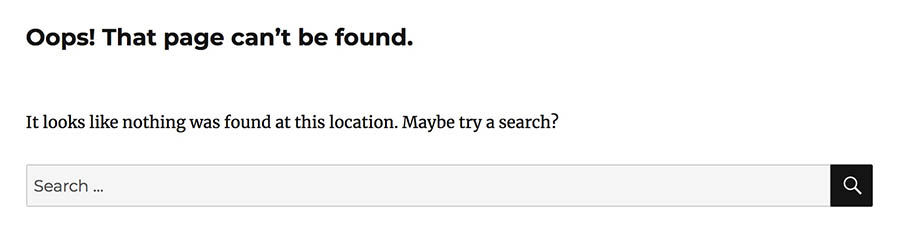
It signals that the server was unable to find the requested page. This error is most commonly associated with broken links and changed URLs, but it can also occur even if the page you’re looking for should be available.
When this happens, the most likely cause is again the .htaccess file. This file also handles your site’s hyperlink structure, and it’s possible that it could be redirecting your URLs incorrectly. Your first step should, therefore, be to regenerate a new .htaccess file, using the steps we outlined in the previous section.
However, in the unlikely event that this doesn’t resolve the error, you may need to re-upload .htaccess. The easiest method is to create a new file, give it the name .htaccess (don’t forget the period, and you don’t need to add a file extension), and paste in the following default code:
# BEGIN WordPress
<IfModule mod_rewrite.c>
RewriteEngine On
RewriteBase /
RewriteRule ^index.php$ - [L]
RewriteCond %{REQUEST_FILENAME} !-f
RewriteCond %{REQUEST_FILENAME} !-d
RewriteRule . /index.php [L]
</IfModule>
# END WordPress
You can now upload the file to your site’s root folder. In most cases, this should resolve the 404 error you’re seeing.
5. Error Establishing a Database Connection
As the name suggests, this error will appear if your site can’t access its database. In case you’re unfamiliar with the term, your site’s database is where all its content is stored. This includes your posts, pages, and user information. As such, if you can’t access the database, your site won’t be able to function at all.
There are a few reasons this error can occur, but most of them stem from a single file on your site, namely wp-config.php. This file contains all the information about your site’s database, so it’s the most likely origin for this type of issue.
To repair the database connection, access your site’s wp-config.php file, which should be located in its root folder.
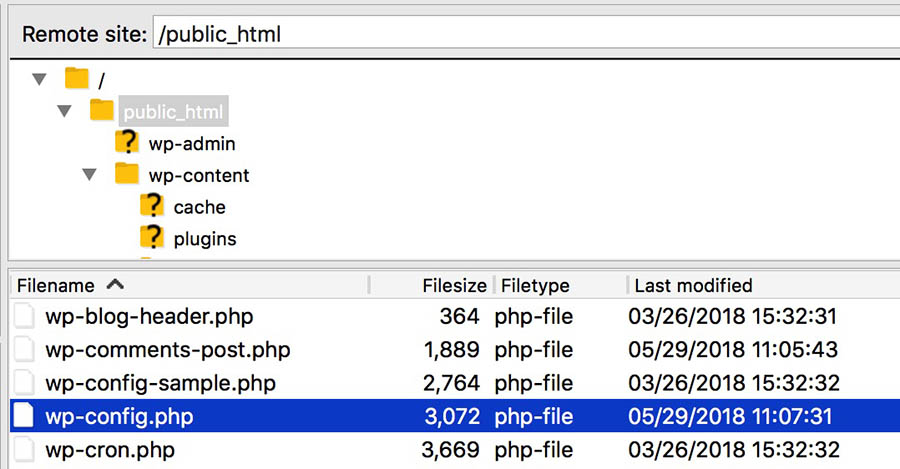
Right-click on the file, and select View/Edit. You’ll first want to check that the credentials in the file are correct. To do that, you should access your phpMyAdmin to find the exact details. If the hostname, username, password, and/or database name in the file are incorrect, replacing them should fix the error.
However, if the error persists, you may need to activate WordPress’ automatic database optimization tool. This feature can be used to repair corrupted databases, and can be turned on by adding the following line to your wp-config.php file:
define( 'WP_ALLOW_REPAIR', true );
After saving the file and uploading it back to your server, you can run the new script by navigating to https://yourwebsiteurl.com/wp-admin/maint/repair.php in your browser. The resulting page will look like this:
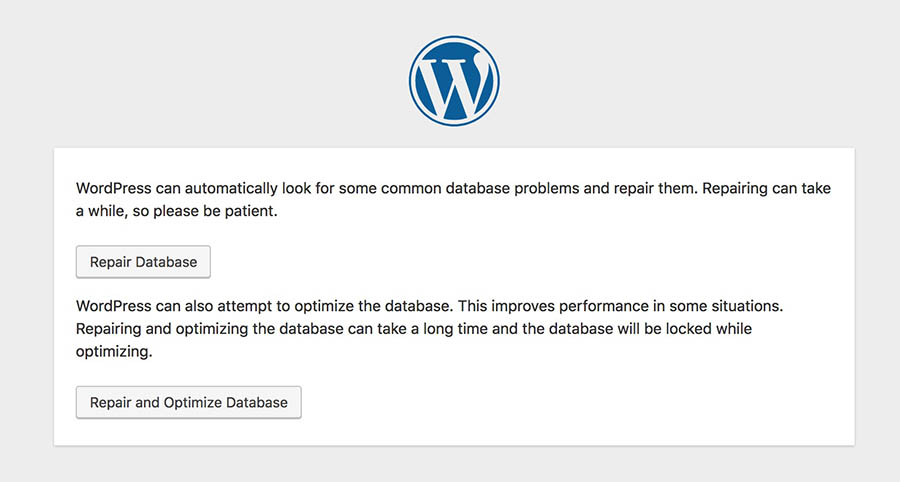
All you need to do is click on either of the buttons to run the repair tool. When the process is completed, the page will reload, and you should see a message telling you that the database tables have been fixed.
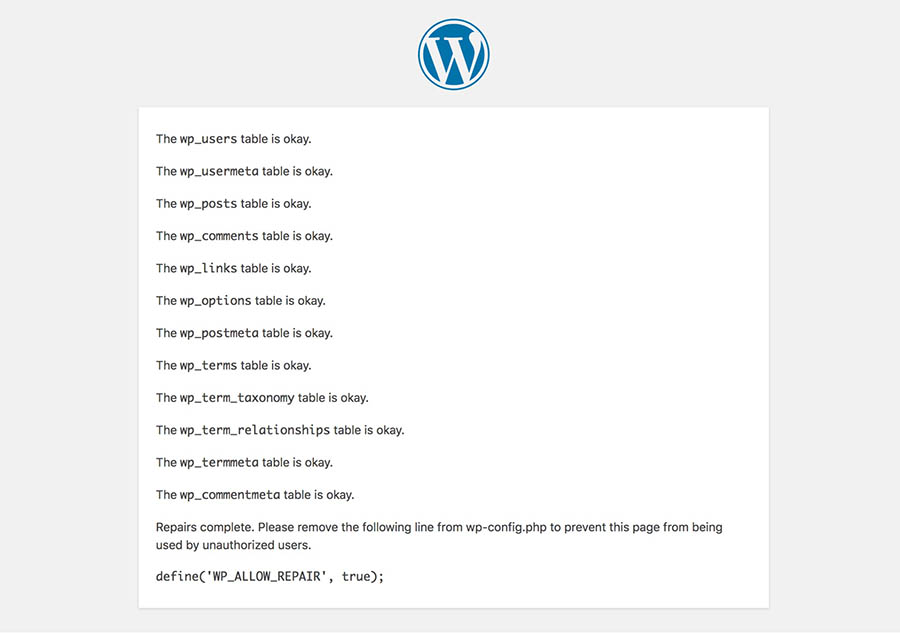
This should deal with your database connection error. Just don’t forget to remove the line WP_ALLOW_REPAIR from wp-config.php when you’re done.
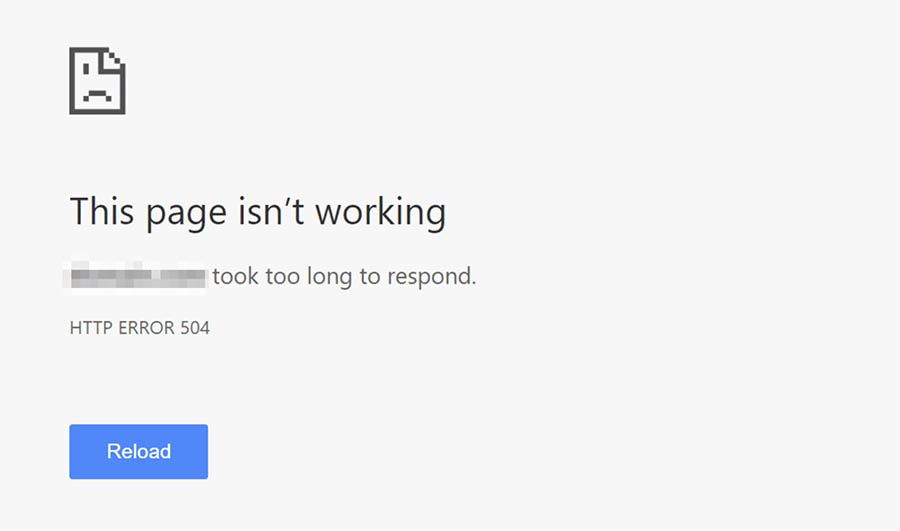
6. Connection Timed Out Error
You’ve probably seen this error show up after a site has tried (unsuccessfully) to load for some time. It means that the server is struggling to load the site, and has essentially given up.
This could happen for a variety of reasons, the most common of which is that your site doesn’t have the resources it needs to function properly. For example, if you’re using shared hosting, another site could be hogging your server’s resources. Alternately, perhaps your site has exceeded its maximum allowed bandwidth.
As such, you might want to consider upgrading your hosting plan if you see this error occur multiple times. A higher-tier plan will help you avoid slowdowns and downtime, as your site will have more server resources and won’t be affected if other sites see a surge in traffic.
The ‘connection timed out’ error can also occur if your site is causing a lot of strain on the server. Therefore, we recommend that you optimize your site for speed, get rid of any resource-hogging plugins, and check your theme to see if it’s dragging down your performance. Once again, you might also want to increase your PHP memory limit.
Get Content Delivered Straight to Your Inbox
Subscribe to our blog and receive great content just like this delivered straight to your inbox.